Saturday 14 December 2013

Sd Kfz 182 Pz. Bef. Wg Tiger Ausf. B : Mud , pigments and oils.

Good day once again
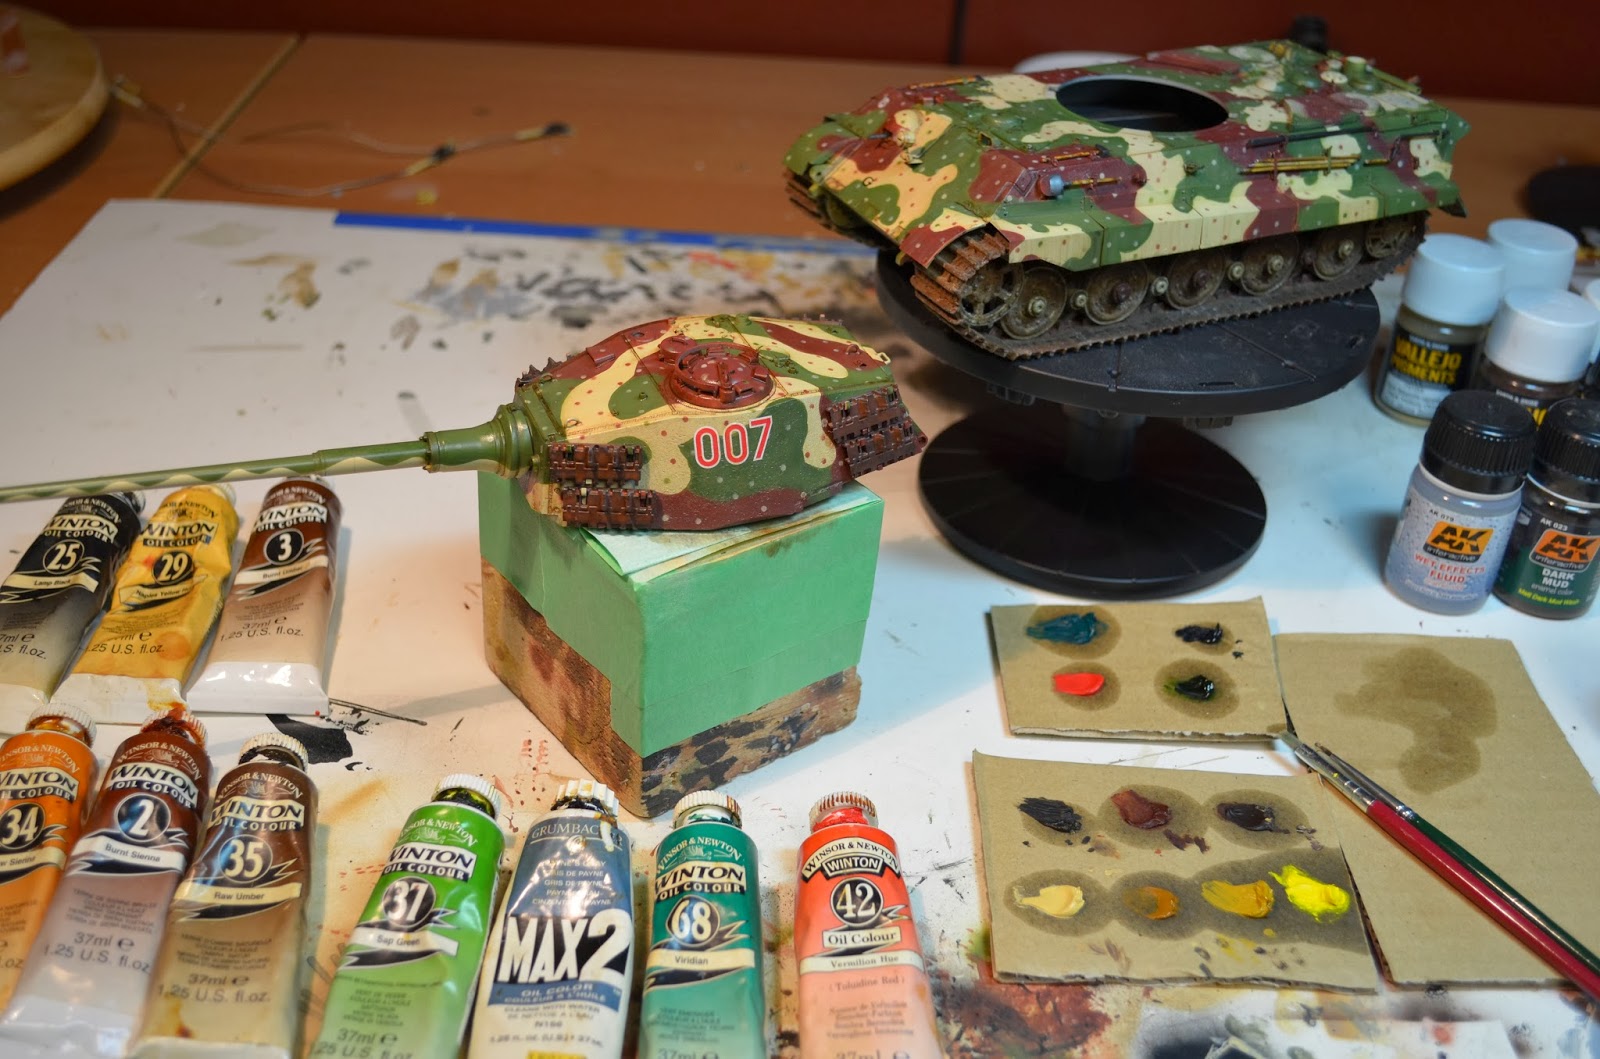
After a blast of Tamiya clear to seal in all the paint , I proceed with pin washes of Winsor and Newton oil paints. usually use a combination of Burnt Umber and Raw Umber with a hint of Lamp Black.


 I use a peace of cardboard to suck up the linseed oil in the oil paint , this gives a more vivid pigment. I use MIG thinner exclusively due to its low oder and ease of usage.


After the application of pin washes.


                                             Color a little less stark and tone tuned down.

The "dot" wash of oil paints on all remaining surfaces is done after the pin wash is done a day or two after. I utilize a vast array of colors such as blue , red, ochre, sienna, cadmium yellow , umber, and viridian.


Since this specific AFV didn't see some snow till later in it's life,  I washed all the road wheels and tracks with a mix of dark oils and muddied up the chassis. Modulation of dark oils and pastels on the bottom of track guards were added. Chipping will be minimal due to the age of the vehicle. Next stage some cast and crew for this land battleship.
 

Saturday 7 December 2013

Sd Kfz 182 Pz. Bef. Wg Tiger Ausf. B : Tools and Decals

Small update of added detail done over the last few days.

Griffon Models photo etch set is the ultimate set , easy to use and has weld plates for all tool holders I assemble separately from the kit , due to more detail painting can be achieved on these small details .
 After assemble I primer in a light enamel paint such as model master radome tan.

 I primer the whole tool plus the clamps and brackets.
 
 I add dark grain to all wood products at this stage using Vallejo paint and a ratty brush.


 After a wash of  Vallejo sepia and black shadow the wood portions are coated in future. Then the metal parts are painted in German grey and dry brushed in gunmetal. The clamps are painted the appropriate camo color then glued onto the kit.
After detail painting of tools I can add to the kit. The added detail of working brackets such as the jack and jack block clamps is the dream here, making it easy to add your tools after painting.


 More wing nuts need to be added here. The rear light is included in the kit as a small clear part , I painted it in clear blue and then added to its photo etched bracket.
 A minimum of decals was used , Archer transfers and letraset letters { G} were added to the turret , front and back of chassis. Only one small decal was utilised. I chose the command tank of SS-PZ Abt 501 , # 007.
 Periscopes were added, pre painted black with the reflective glass painted clear green over chrome silver.
All the remaining tools and tracks were added. Brackets were touched up.


 All that remains to add is the aerials and the tow cables . That will be done when weathering is complete.


 Looks factory finish , soon to change.