Been a while for a post , Summer time eats into my modelling time, most of the time its riding the "Silver Dragon" on adventures around or outside renovations that need some attention.
We start off with an in-depth view of the Dragon and Bronco 2cm Flakvierling , one without details added and the other with the Voyager photo etch set added. The Bronco kit is stock with the brass barrels and small photo etch set that comes in the kit .
The detailed Dragon kit will be an addition to the Dragon Sd.Kfz 7/1 Flakvierling where as the Bronco kit will be added to the Dragon Sd.Kfz 7/2 late. The stock Dragon flak kit is a poor showing. I was very disappointed with the lack of detail and refinement compared to the Bronco kit. It had numerous attachment points on every piece which entailed extensive sanding and trimming of each part. The Dragon directions have one good quality and that would be to start fires. There not even worth the paper there printed on. The Bronco directions on the other hand were easy to follow and had many angles of the kit , no hidden assemble lines, well done Bronco. First lets have a look at the basic Dragon kit and it's shortcomings.


Not a bad rendition , but there is a huge seam between the halves connected by the traverse mechanism,

The Barrels have the ends hollowed out , but not enough and the barrel detail is soft.


The gun shields are ok but again lack finesse like the Bronco shields.

The spent ammo bin is simplified as well with the wrong angle on the inside . I will paint this one up for some practice.
Wow , what a slag of the Dragon kit, maybe a little harsh in my critique, but lets move on to the Bronco kit.

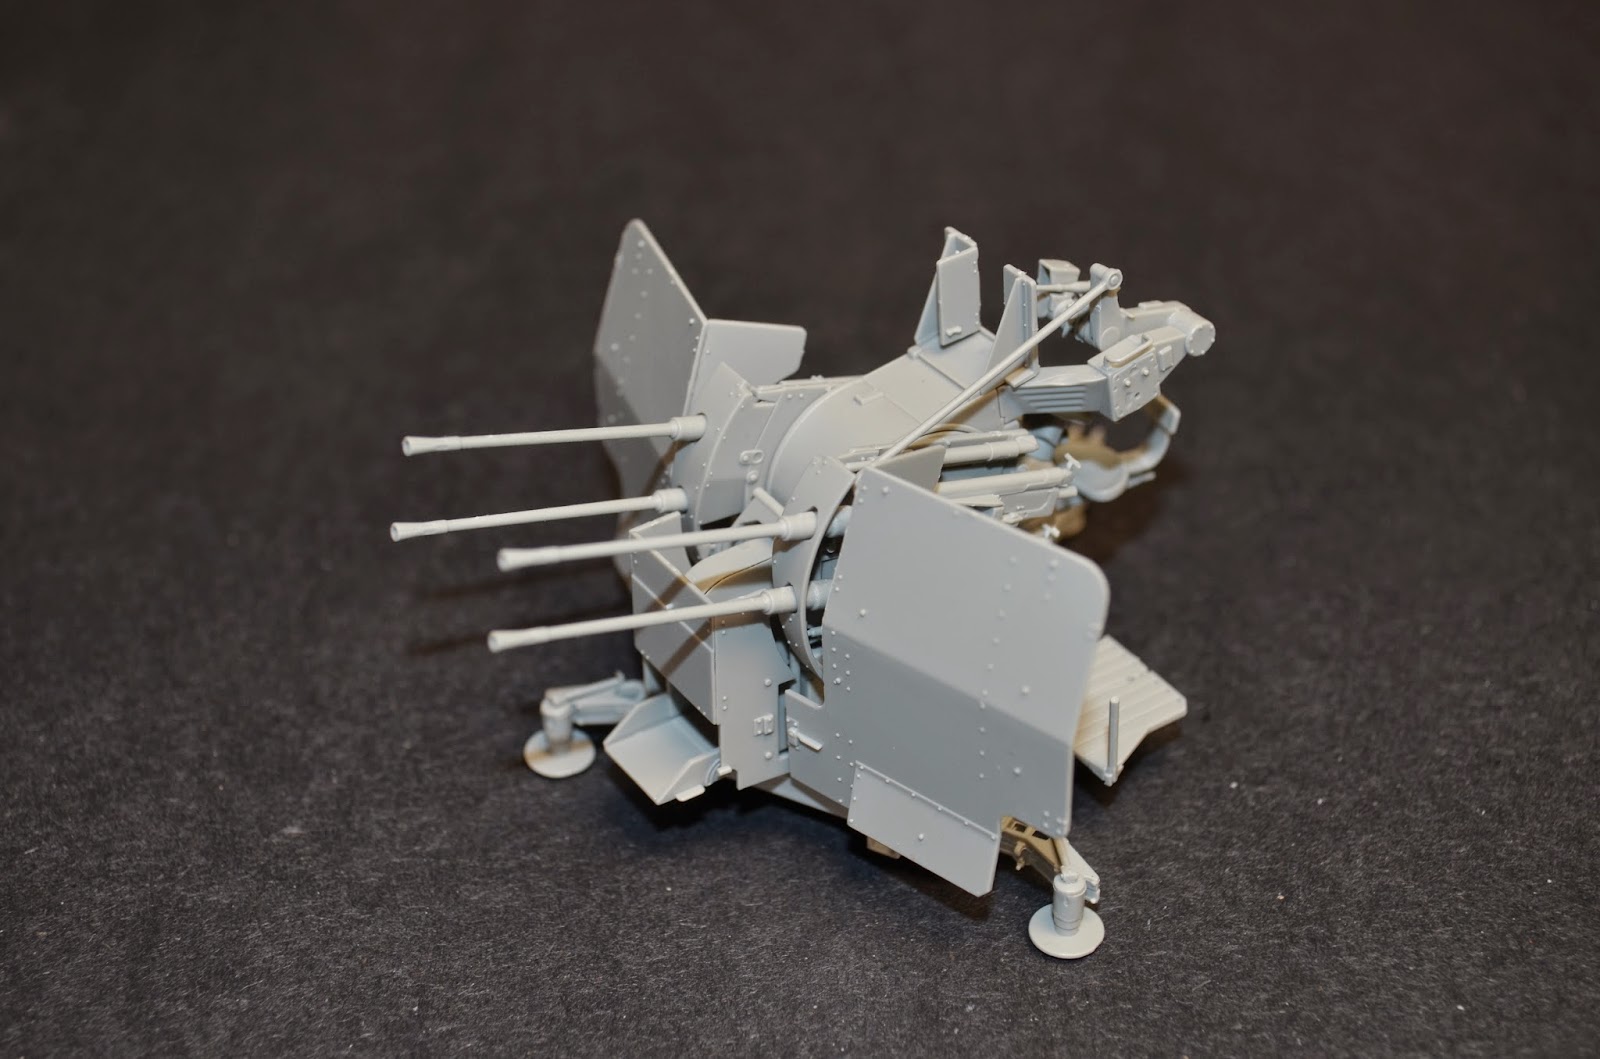
A much better rendition of the Flakvierling 38.Almost all the shielding is scale thickness and there is no need for photo etch


Some of the sub assemblies were kept separate for painting purposes. Very nice assembly of the seats, ammo bins, spent ammo bin and all the internals are faithfully reproduced.


The piece as its sits on it's scratch built mount, more refinement and details will be added to the rear pintle.


Next have a look at my origami of brass for the Dragon kit. The Voyager kit is well worth the price to update the Dragon kit, but there are some sequences that are just ridiculous for the amount of work involved that really doesn't add more detail , just frustration value.

Keep the carpet monster at bay for I'm sure they would love to gobble this one up.


The ammo bins are nicely done but I replaced the brass floor boards with square styrene instead of using the brass pieces.

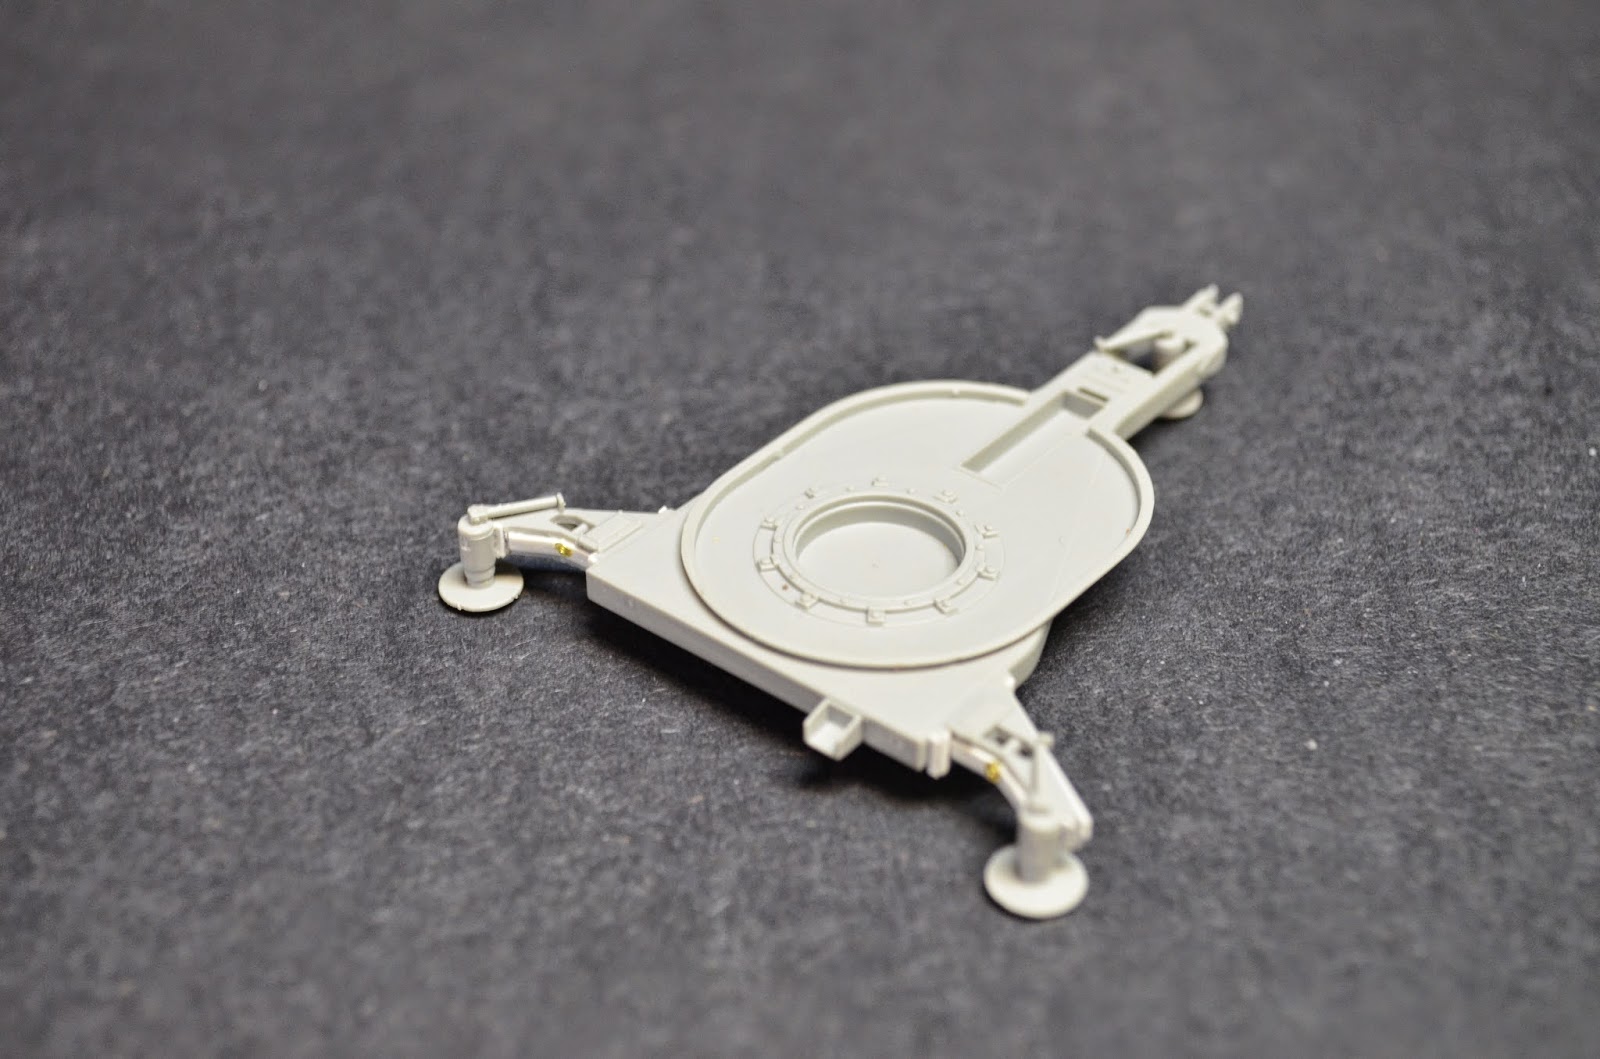
The Dragon base is just bad , and this is a bad attempt to fix the atrocious seam lines. It won't be used due to the bed mount on the early 7/1.

Armo barrels were used , had them in my stash. A little finesse and I didn't have to add some added expense.


Some assemblies left separately for painting purposes.


Hope you enjoyed this build and more to follow in reference to their chariots.
Cheers