Saturday 13 December 2014

Bridge Dio Part 4

I have finished the water elements for now. Top coat is a simple process of using Liquitex
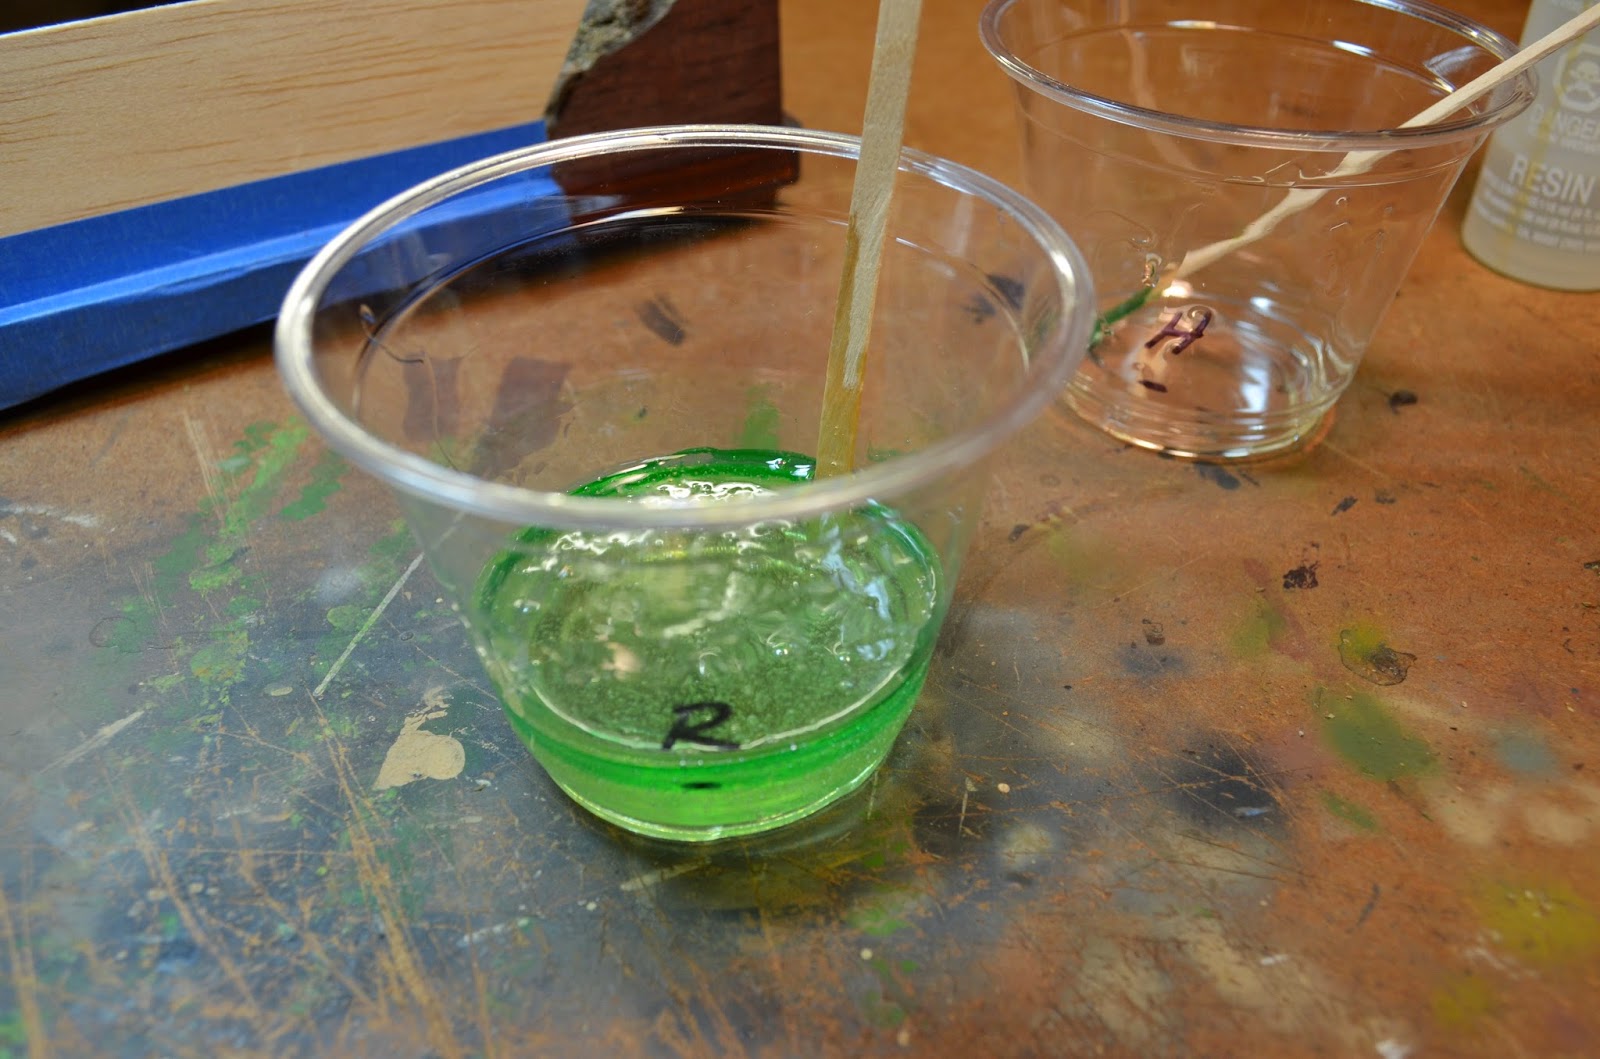
super heavy medium gel . This is a artist acrylic that I find is easy to use .


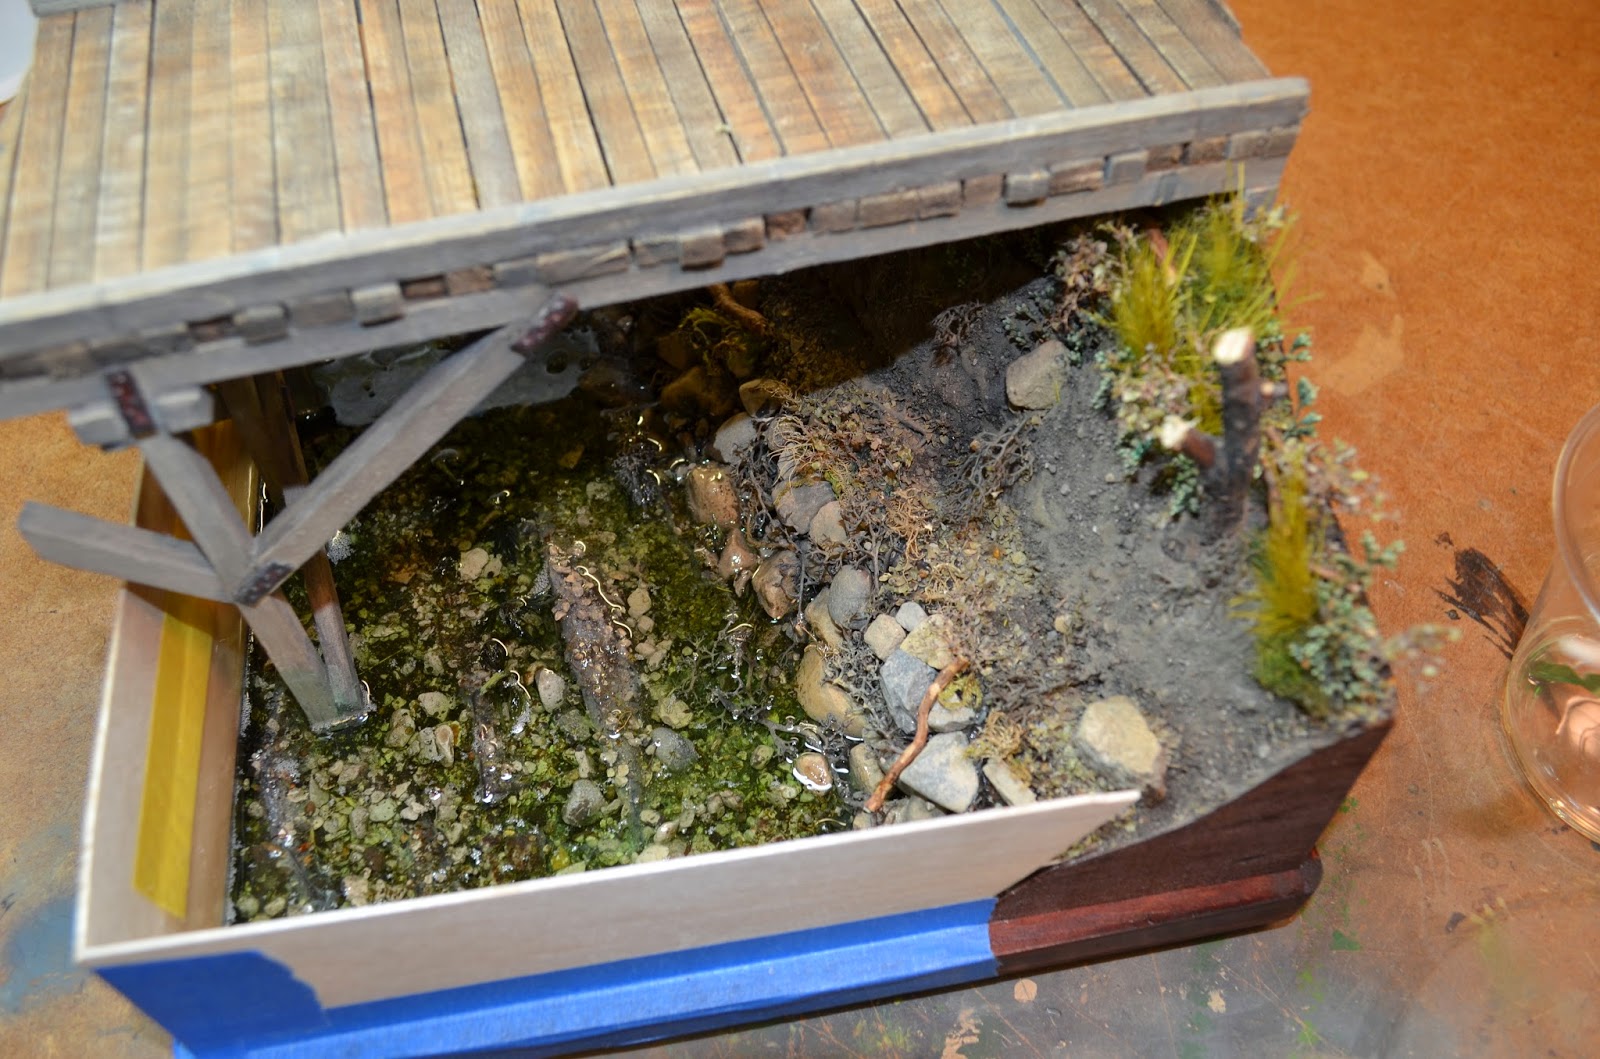
 I found that experimenting before hand on a piece of plastic , you'll find a technic that suits your needs. I use a broad chisel brush and a fine blending brush. Study water flow pictures and try to capture how wind , current and direction would influence your waves. I wanted to capture a shallow river embankment with a slow current, there for a subtle wave pattern.


 Study water flow pictures and try to capture how wind , current and direction would influence your waves. I wanted to capture a shallow river embankment with a slow
current, there for a subtle wave pattern.

 
Working from one end to the other , the acrylic gel has a somewhat long working time , making ripples and waves it is easily sculpted. I find that it has a tendency to dry up in the brush after awhile , I then proceed to clean the brush with tap water and continue. As you can see in the following picture the gel sets and dries within 30 minutes. It turns clear when drying. If you happen to make an error during your process , wait till it dries and then peal off the unwanted area. The gel is easy to cut once dry and washes off surfaces with Windex.


 Just enough to get some current effect to enhance the top .Once fully cured after a 24 hour period I add a gloss coat of future floor wax.


 This concludes the water portion of this dio at this time , with a flurry of other elements in the works, stay tuned for more updates.


Sunday 9 November 2014

Bridge Dio Part 3

Progressing with the Bridge diorama . All the water volume has been added. 
 This took four steps to achieve this height with 12 hours between pours in order to let each layer set and dry. The clear casting epoxy doesn't create lines between pours and is very clear and transparent.
After drying, the acetate is cut at the base and pealed off leaving a jewel like chunk of clear epoxy { tinted }. The acetate does not bond to the epoxy therefor leaving no residue. Any scratches or marks can easily painted over using Future. Complex corners or curves can be done using the acetate method. I find this method the easiest and least messy unlike other clear resins I have used in the past.


Some added elements lurking in the river. 
A couple of fish added for fun. 
Next step will be to add waves and features seen on the top of the water. Stay tuned , cheers.

Tuesday 14 October 2014

Bridge Dio Part 2

Good day,

Well progressing on this dio with fall approaching there's more time to build in the man cave.

 Ground work almost all done with an assortment of Henki grass, fly bate fur , natural ground , twigs, roots, rocks from the alley, sea foam and natural dried plants. Layered on with pigments thrown into the pva. Always think two steps ahead when doing ground work. It seems to work for me.

               River bed and embankment is done with thought of natural erosion taken place.
                                                     First layer of clear casting epoxy.
 Easy Cast clear casting epoxy is the easiest medium to use when making large volumes of water that are transparent. The trick is to do layers not more than 5mm at time. I've done extensive experimenting and this seems to work the best with little heat, warping and minimal of air bubbles due to it takes about 12 hours to cure at this thickness. I add only 2 drops of Tamiya clear green , less the better.
 Measure equal amounts then add of few drops more of hardener due to this is the vessel            your poring out of.
                         Add two drops of clear green , then mix the two together for about 3 minutes.


                                        Second layer of epoxy with bridge imbedded into dio base.

 Looking good , nice tonal color, now to keep in a dust free environment for at least 12 hours with some ventilation.
 Time to work on some items to have in the river to add some interest. Maybe a fishy or two, a boat ?
                        Progress of Mantis resin fish and a Dragon models boat, not sure on the boat yet.


               Lucky, my cat knew I was doing something with "fish" , and came for a closer view.
                                          That's all for now , more updates to come shortly.