Friday, 3 April 2015

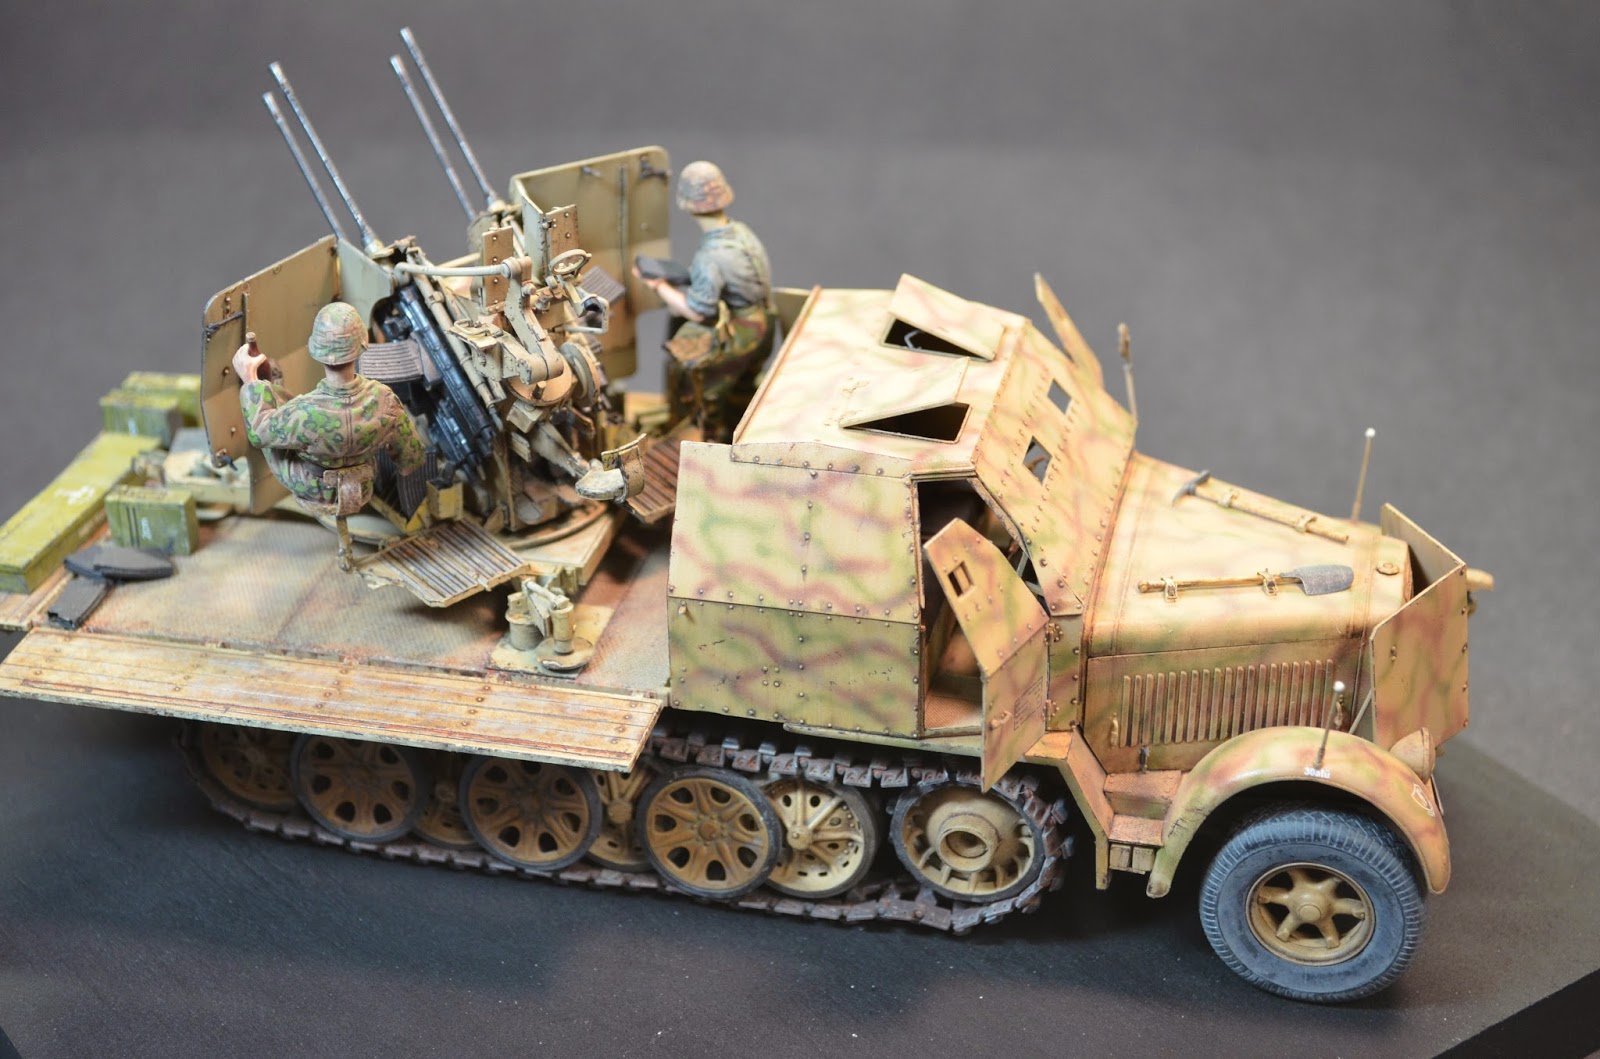
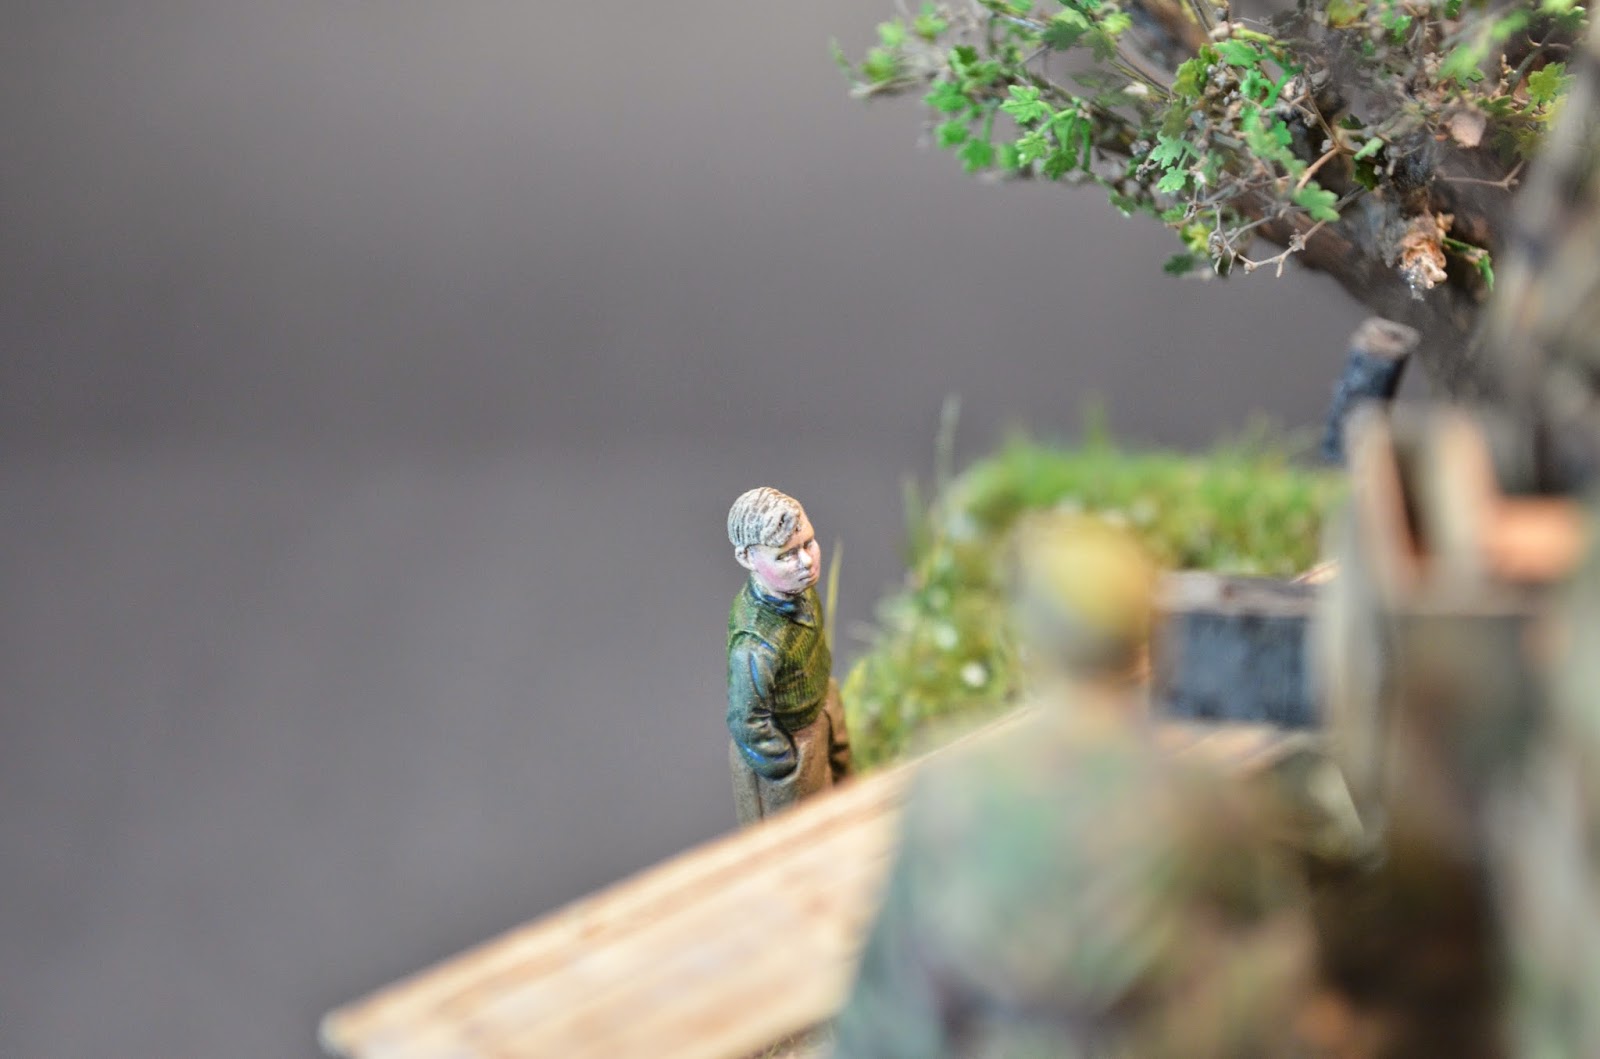
Small Admirer {Sd Kfz 7/1 dio}

Small Admirer : Sd Kfz 7/1 dio


Extensive build is done on this dio. All the elements have come together finally after considerable time spent on the figures , the base, natural additions and accessories .


Addition of most of the figures and accessories. 


 Finished piece.


 Scratch build resin forms used to make cobble stone road and wall.


 Original made of cork was not used as posted below.
 

 A few pics of varies positions on the base before build.


 Finished base.


 Jaguar, Warrior ,Royal Model, Custom Dioramic and Mantis figures and animals used with Dragon , Voyager , Griffon and Bronco accessories. Scratch built base using cigar box , construction foam and scratch built trees with Kamizukuri paper foliage. Home made resin forms for cobble stone and brick wall elements.


  Lex likes the new dio, hope you do as well.
 

Saturday, 21 February 2015

The Dark Side

Good day everyone

Time for an update , been awhile, hope you haven't missed my exploits. Needed a break from some extensive dio's I've been working on and off , needed a change so why not venture to the 'Dark Side".
I had some kits in my stash that have been collecting dust for an extensive amount of time , most with a collections of aftermarket goodies . Why call it the "Dark Side " ? , well I haven't dived into any green for awhile , most Allied modellers state that German AFV's are the Dark Side , well for me it's the opposite. Had to pull out my resources and do some Googeling and off to do some building. Here is a quick snapshot of what I've been building since St. Nick came by . Specific build posts will come shortly , once final additions are finalized.


 Tamiya IS 3 { JS 3 }, Modelkasten Tracks , ET Model Photo etch , Scratch built tow cables , RB Barrel .


 Dragon { old } T34/85 . Lion Roar Photo etch . Aber Barrel . Jaguar wheels and fuel tanks, Scratch built tow cables.


 Tamiya T26E3, Dragon T80 single pin tracks, Verlinden update set { minor used } Dragon fender storage bins, Verlinden gear and scratch built items. Still waiting for a RB barrel.


As you see , I've been busy building between "binge watching" Sons of Anarchy and  The Americans. Stay tuned for more shortly. Cheers.

Saturday, 13 December 2014

Bridge Dio Part 4

I have finished the water elements for now. Top coat is a simple process of using Liquitex
super heavy medium gel . This is a artist acrylic that I find is easy to use .


 I found that experimenting before hand on a piece of plastic , you'll find a technic that suits your needs. I use a broad chisel brush and a fine blending brush. Study water flow pictures and try to capture how wind , current and direction would influence your waves. I wanted to capture a shallow river embankment with a slow current, there for a subtle wave pattern.


 Study water flow pictures and try to capture how wind , current and direction would influence your waves. I wanted to capture a shallow river embankment with a slow
current, there for a subtle wave pattern.

 
Working from one end to the other , the acrylic gel has a somewhat long working time , making ripples and waves it is easily sculpted. I find that it has a tendency to dry up in the brush after awhile , I then proceed to clean the brush with tap water and continue. As you can see in the following picture the gel sets and dries within 30 minutes. It turns clear when drying. If you happen to make an error during your process , wait till it dries and then peal off the unwanted area. The gel is easy to cut once dry and washes off surfaces with Windex.


 Just enough to get some current effect to enhance the top .Once fully cured after a 24 hour period I add a gloss coat of future floor wax.


 This concludes the water portion of this dio at this time , with a flurry of other elements in the works, stay tuned for more updates.