Friday, 5 July 2013

Sd Kfz 182 Pz. Bef. Wg Tiger Ausf. B: tracks

Adding the tracks , complicated assembly? not in any way with the Dragon magic tracks. Assembly is a simple process where as using a # 11 blade I scrape all the knock off marks and then assemble them on a flat surface using a pair of tweezers from the dark ages. The tight fit makes the process very simple.
 
After a quick coat of Tamiya extra thin cement I let them sit for about 10 minutes. then I apply to the road wheels and let dry.


I did three segments for each side where I could easily take them off for prepainting, making sure there was the proper sag and fit around the idlers.


Once dry I gave them a blast of Vallejo surface primer German red brown.


Then using successive washes of more Vallejo paints using a spectrum of rusts dark to light.


Now the tracks are assembled and ready for the mud and snow effects.

Humbrol # 11 and some metalizers were used to enhanced the metal edges , a little brash is contrast but will tone down with the successive washed of mud and dirt.

 
Tamiya clear is airbrushed on to protect all the work already done , let to dry for a day or two.
Then it's back to mud once again ,AK dark mud washed on sprinkled by the plaster mix described once before.


Then the snow effect are used once again by using heavy medium gel and Woodland Scenics snow and baking soda.


Let to dry and some over washes of dark mud will be used once again .Next stage mating of the upper and lower chassis and masking.
 

Friday, 14 June 2013

Sd Kfz 182 Pz. Bef. Wg Tiger Ausf. B: Mud , Dirt and Snow ; Road wheels and Hull

What a long title , but it explains this blog and the detail put into the bottom end of this AFV.


After priming and painting the road wheels plus the end caps I finish the drive side of the road wheel with a mixture of Humbrol 11 and Model Master metalizer stainless steel.


I add more texture to the road wheels of the King Tiger by using Liquitex heavy medium acrylic and more baking soda, I stipple the entire area leaving some bare spots and sprinkle the baking soda on top. The other pictures show some preshading under the primer on the chassis under a coat of primer.

 After mixing some AK pigments with some plaster, I use both the dark mud wash and some dabbing of the plaster mix on both the road wheels and the chassis. After setting for a week or so , I coat with some future to protect the area and to seal in the detail.


After letting the Future dry I add some acrylic gel again , stippling and adding Woodland Scenics snow and baking soda. I again leave some bare spots for some more detail painting after everything dries. As you can see by the photo you have a wonderful sheen of frozen muck on the bottom.


 Next step will be the tracks and outer road wheels and blending it all together.


Thursday, 30 May 2013

Sd Kfz 182 Pz. Bef. Wg Tiger Ausf. B: Modulation

Modulation : what ? ,  “Color Modulation”, is a new way to execute the finish of a model via a variety of painting processes .Google the process , my favourite is
by Mike Rinaldi found on Missing Lynx. Other examples are by Mig and Adam Wilder.
 Since this specific AFV is going to have a multitude of paint on it such as camo and winter wash we keep the modulation process to a minimum to keep down the layers of paint.


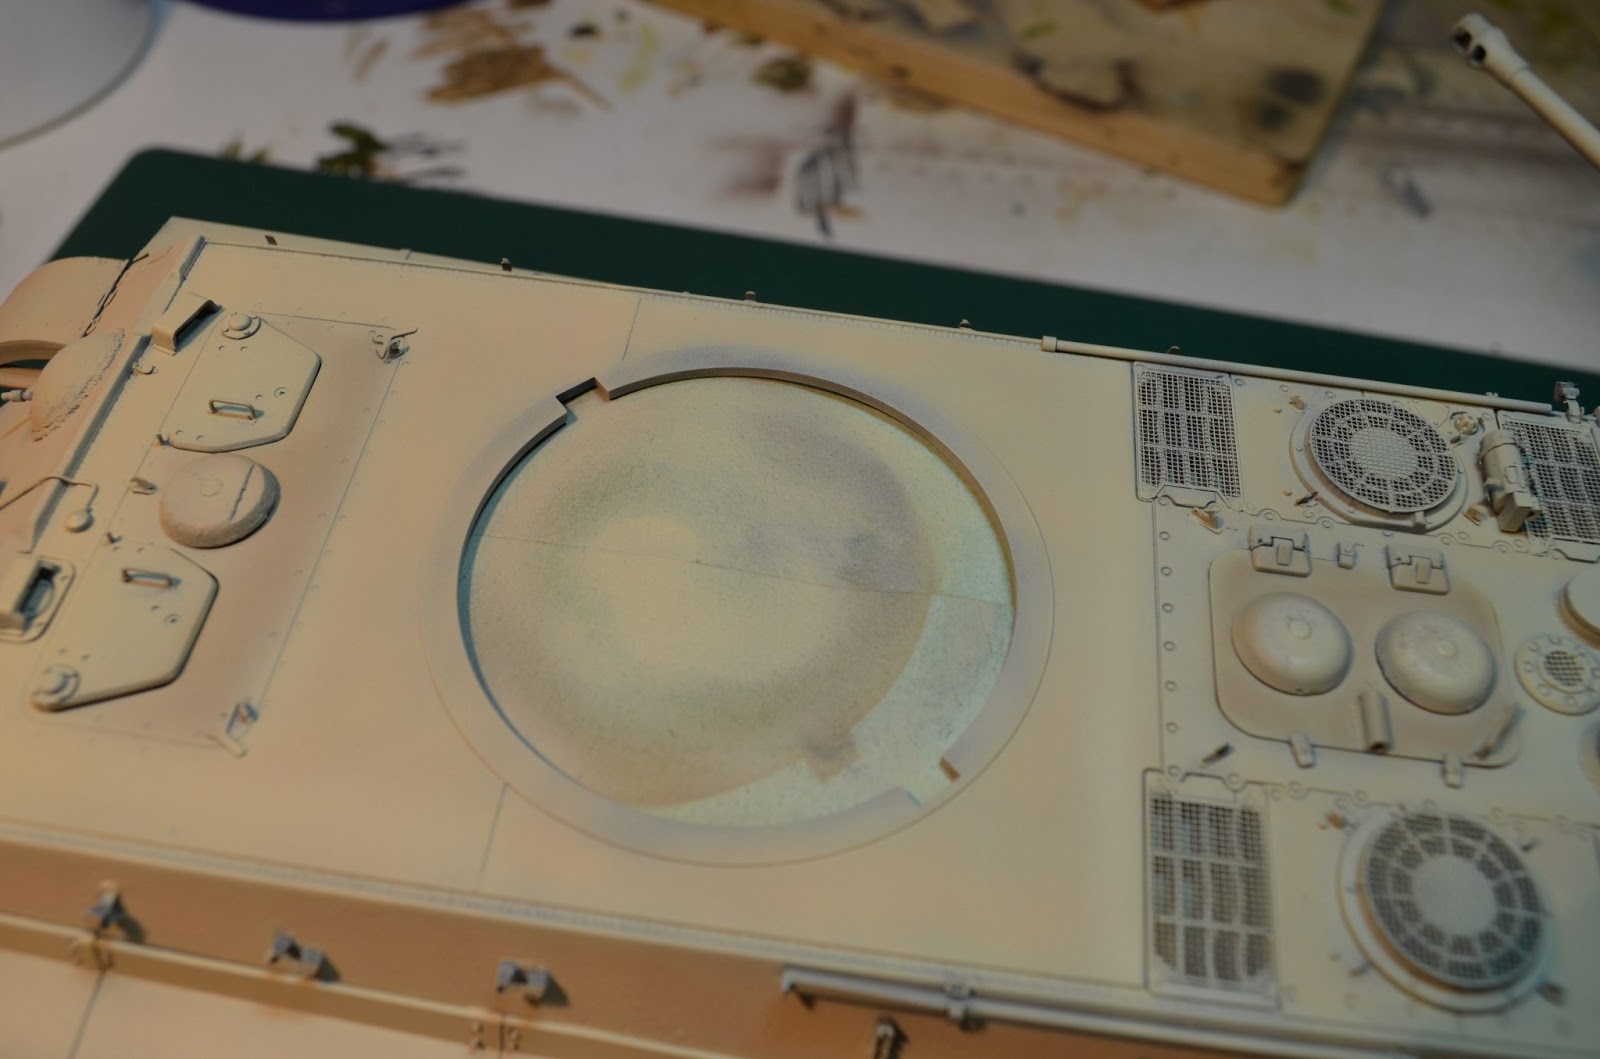
We have an abundance of colors starting with the Tamya Dark Yellow XF-59, and progressively get lighter with Desert Yellow , then Buff, all with highlighted variants in between of all the base colors . As you can see they are numbered , the white is used to lighten all shades. All colors are sprayed on in varies areas to give some variation to the base color , high lighting top areas .The pre shade process is still there to give some depth, more definition will come in the wash, pin wash and mapping later.

Some tonal differences can be seen in this pic.

Try not to "over think" the process since this is just the base color.

Is the colour right? , don't get me started on this debate , make your own speculation and paint the colour YOU think works for you. No two eyes are the same , therefor everyone looks at color's differently.

I like to start with light color's for they have a tendency to darken with all the weathering processes.

Time to let it dry, next step , masking and tonal modulation of camo.


Sd Kfz 182 Pz. Bef. Wg Tiger Ausf. B: Primer and Post Shading

Welcome back , as many of you know the painting process can be a labour of love or hate. A multitude of issues can occur when painting your new gem. Air brush pressure , compressor heat or moisture , paint consistency , paint compatibility, excessive relative humidity, paint adhesion , and paint flow.

Set Up : I like to mount my pieces on balsa blocks in which I've used over the years , some have 100's of coats from various builds but have always been used for such a purpose. Narrow blocks are used about 2 inches wide and 4 inches in length, these are mounted onto a base of some sort. Using painters tape I usually double side it and adhere it to the painting blocks. Then place the piece needing some paint onto the tape, This way it can be easily moved with out jumping around when blasting it with your air brush.

Primer : I usually use a good quality primer coat which lately has been from the Vallejo line , before I would use a enamel base but all those ketones flying around in your man cave can do some damage to your lungs and brain. I find the Vallejo primers are the right consistency right out of the bottle and they give you a considerable amount for the dollar. The only issue I have had in regards to this primer is clean up must be done between coats , this is durable stuff but can plug your prised airbrush in a hurry.


I Start with a semi gloss black which is good to "shadow" all the crevasses and can give you a good visual if you need to fix any screw ups. As stated before be prepared to spend some time at the desk with your air brush , cleaning periodically and emptying you water trap on your line. Take some time to inspect your piece before moving on to the next step , this is your chance to fix any build boo-boos.


After letting the black coat set for a day or two I move onto the high light primer which is Desert tan Base, I use a Iwata Eclipse HP-BS with an old { 25 year } Badger 180 compressor @ 30 PSI. I do light coats until most of the dark areas are covered.

 
Next segment will be modulation, so stay tuned .

Friday, 24 May 2013

Sd Kfz 182 Pz. Bef. Wg Tiger Ausf. B: Adding Texture

I will try to update my build a little more with more steps involved. As you can see with the last post ,all the photo etch and texturing  on the upper armour has been added , this was done with subtle Gunze 1200 and 500 and some Tamiya Surface primer. This time around we add texture to the bottom half of the model where  accumulation of dirt and grime reside. This area is a little more pronounced therefor we use some baking soda with the Tamiya surface primer.

We utilise a very used brush , something that we can toss after this application. Cheap craft brushes for these specific tasks can be obtained at Wally World or Michael's or your fav Brick and Mortar Craft Store.


Using the surface primer , blot some on and stipple it onto the area needing the texture. Try not to do an area to large for this stuff dries fast. Then sprinkle on some baking soda , Let is set for a minute or two and blow off with your air brush or lungs.
Areas that will accumulate a large amount of crud add some layers of the previous steps.

 Don't forget areas that are easily forgotten, like the undersides of fenders .

Let all this work sit for a time before progressing to the primer coat, which will be covered next.