Saturday, 7 December 2013

Sd Kfz 182 Pz. Bef. Wg Tiger Ausf. B : Tools and Decals

Small update of added detail done over the last few days.

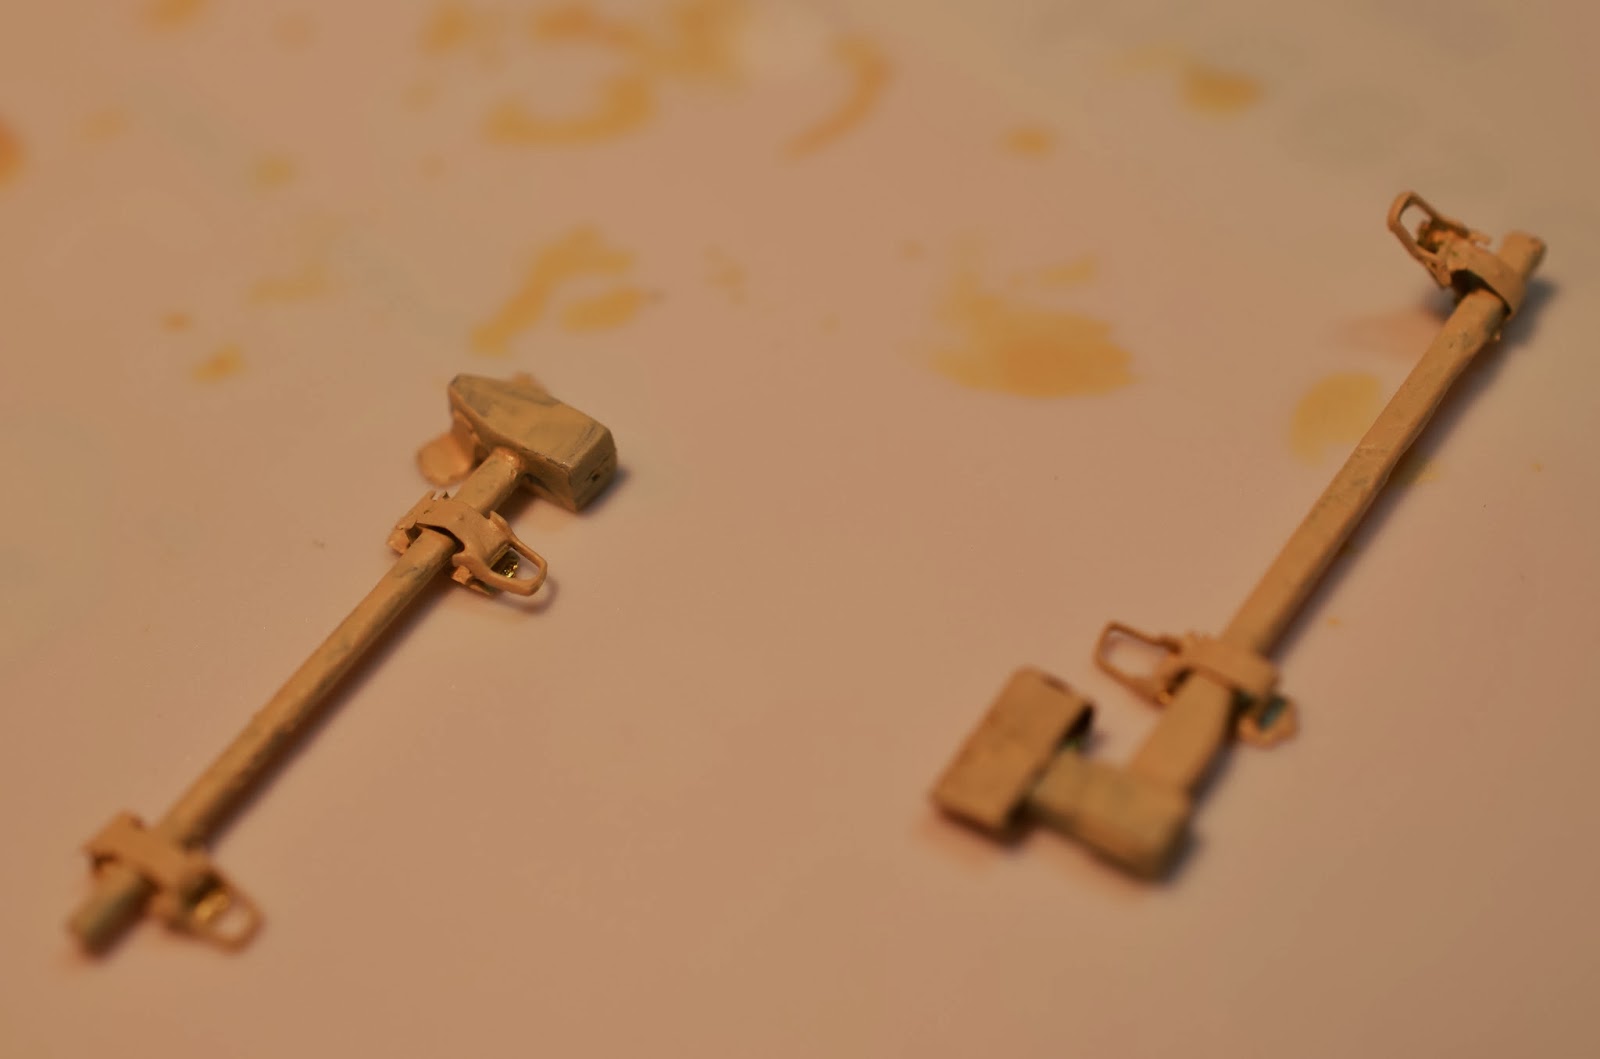
Griffon Models photo etch set is the ultimate set , easy to use and has weld plates for all tool holders I assemble separately from the kit , due to more detail painting can be achieved on these small details .
 After assemble I primer in a light enamel paint such as model master radome tan.

 I primer the whole tool plus the clamps and brackets.
 
 I add dark grain to all wood products at this stage using Vallejo paint and a ratty brush.


 After a wash of  Vallejo sepia and black shadow the wood portions are coated in future. Then the metal parts are painted in German grey and dry brushed in gunmetal. The clamps are painted the appropriate camo color then glued onto the kit.
After detail painting of tools I can add to the kit. The added detail of working brackets such as the jack and jack block clamps is the dream here, making it easy to add your tools after painting.


 More wing nuts need to be added here. The rear light is included in the kit as a small clear part , I painted it in clear blue and then added to its photo etched bracket.
 A minimum of decals was used , Archer transfers and letraset letters { G} were added to the turret , front and back of chassis. Only one small decal was utilised. I chose the command tank of SS-PZ Abt 501 , # 007.
 Periscopes were added, pre painted black with the reflective glass painted clear green over chrome silver.
All the remaining tools and tracks were added. Brackets were touched up.


 All that remains to add is the aerials and the tow cables . That will be done when weathering is complete.


 Looks factory finish , soon to change.

Saturday, 30 November 2013

Sd Kfz 182 Pz. Bef. Wg Tiger Ausf. B "Ambush"

Good day once again

Quick update on camo work with the ambush spots. Some references have large spots of varying degrees of colors where others have little specks, most are artist impressions of the detail of the camo found on these beasts. Looking closely to photographic evidence I found most "spots are supple and faint with the sand color being predominate. I tried my best to represent this aspect in my paint work. Then again this is my impression of this paint work.
A clear coat of Model Master semi gloss lacquer was sprayed on prior to this stage. Tamiya acrylic paints were used doing the " spots".  Any over spray of "spots" were easily removed using Windex on a cotton bud.


Simple set of masks were made to use on this aspect of the paint work : Templates made out of small strips of cardboard lined with Tamaya tape to keep back the over spray. These were holed using a hole punch. 

Next stage , clear coat and decals.
 

Wednesday, 27 November 2013

Sd Kfz 182 Pz. Bef. Wg Tiger Ausf. B Camo

Good day

I must apologise for the lack of updates , but this fall has been very busy with 1/1 scale builds { renovations } that take up a considerable amount of time.
I did have a chance to make up some time last weekend to paint the camo on my King Tiger. Masking was a pain , and all tools were left off till the end , trying to keep the agony of flying parts to a minimum. As follows the first set of pictures after the initial camo was painted.
 The first four pictures are the initial camo after the masking was taking off .Faint washed out  camo colors are visible and more work has to be done to make them a little bolder.


 The masking was taken off at this stage to minimise the disembarkation lines between colours. More coats of colors are added after .Utilising a Iwata Eclipse HP-BS  airbrush at about 18lbs of pressure.
 Initial camo colours that are used are Tamiya Hull Red XF-9 and Flat Green XF-5
 Highlights and low light colors used are from model colour range depicted in the photo. These were used as washes to further intensify the camo colours.


Exhausts and covers left off at this stage. 


 The final finish of camo colors before the application of the "ambush" pattern spots used extensively on this type of camo late '44 and '45.

 No headlight or tools added yet to make things much easier at this stage.

Stay tuned for more updates on paint finish, next the "ambush" spots . Thanks for tuning in.

Saturday, 20 July 2013

Famo Update

Took a break from my Kingtiger in order to do some special paint work on my Famo. This piece has all the aspects of weathering including hairspray technique , orange peel, fading , pin washes , oil paint rendering , chipping ,dusting and washes. All  mediums used extensively and over fifty hours of finishing done so far. Have a look, still more to come.


Feel free to comment and thanks for having a look.
Cheers